How to Work with Product Designers as a Software Engineer
So you’ve joined a new team, and now you get to work with a product designer, or maybe you’ve been working with product designers for years. Here are a few tips to make the best of this partnership.
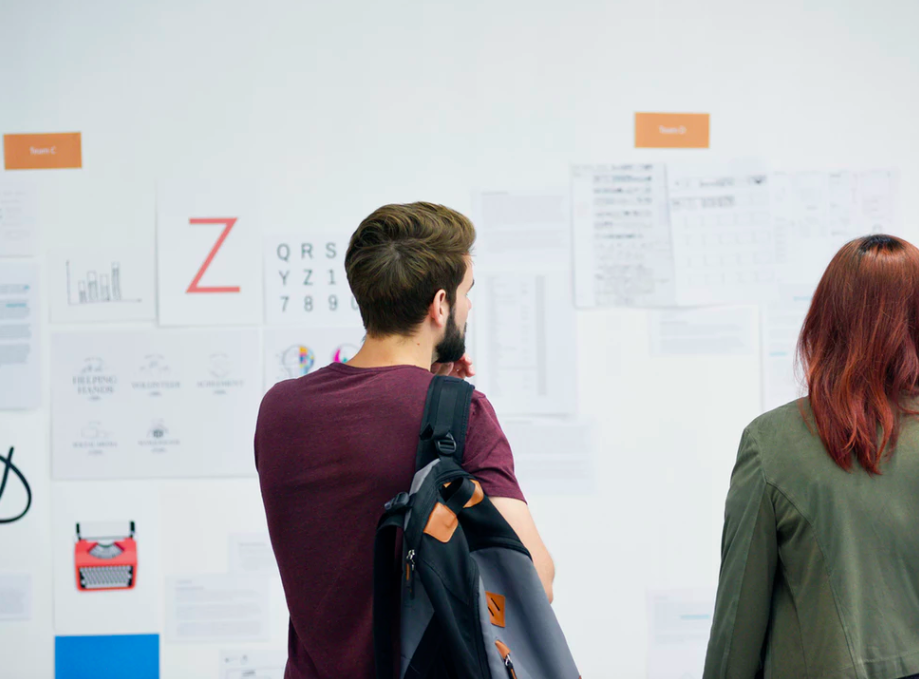
Communicate Early and OftenWhen you’re working with a product designer, you don’t work alone. There needs to be a constant line of communication open. From ideation and research through to scoping and development, the engineer and the designer should work closely throughout the entire process. Designers can express their desires and goals, while engineers can think about how to implement them and suggest changes or ideas that make the process go smoother.
You should work with the product designer to discuss any technical trade-offs early so time can be optimized. Invest in low-effort experiments or prototypes first so you can gauge opportunity before putting all your resources toward something. Design kickoff meetings can help ensure everyone is on the same page with what’s being built, including harder-to-communicate things like animations, accessibility, localization, and other design-edge cases.
Whenever there’s a finished section, share it with the designer to make sure you’re on the right track. It’s easier to fix things earlier in the process, so take lots of screenshots. On a Mac use Cmd+Shift+4 to select a specific area of your screen to capture and save to your desktop. Different programs may have an easier shortcut, such as Cmd+S when using the iOS Simulator. When you have animations or transitions to show off, try a GIF creation tool like Gifox or Giphy Capture.
Screenshots and videos can work wonders for async and remote communication, but try to jam in person (or live video) whenever possible to iron out any kinks and misunderstandings that might crop up.
Define a Design LanguageIf you haven’t already, make sure there’s a clear design language for font types, colors, and other simple UI elements that you’ll be using often. This makes it easy to communicate with the designer as well as keep your app’s design under control. When the designer gives you a mock, it can include font types and colors you have already agreed upon and added to your Fonts and Colors constants files.
If your designer hasn’t yet defined a language, sit down together and lay out some ground rules. This helps prevent you from dealing with an overwhelming number of different styles. If you want to give your designer a link, Airbnb has a great post on creating a new design language when things started to get too hectic. Whenever you see similar designs popping up, start a discussion about making reusable components that can be added to the design language.
Don’t Be Afraid to Design a LittleIf you’re working closely with a product designer, you should enable yourself to do a few design-related tasks on your own. Designers love an engineer who can take some initiative on the simple tasks. No one benefits from going back and forth just to figure out exactly how many pixels are in between those buttons.
If a designer gives you a mock, figure out what you can get out of it before you ask for every single redline and every single asset.
xScope is a great Mac app that helps you get the information you need from a designer mock. The “Dimensions” tool lets you easily see the distance between two elements on a mock. If your design language has constant spacing, you should be able to figure out what spacing you need between all the components without asking.

The “Loupe” tool in xScope is great to use at the same time, giving you a close-up view all the way to the pixel level. Talk about pixel perfect engineering—this makes that easy. Additionally, this tool lets you see the exact hex color value of the pixel you’re on, so no need to ask your designer for any color values. (Once you have a design language, most colors will be predetermined in your color palette, but you may still have some one-off colors.)
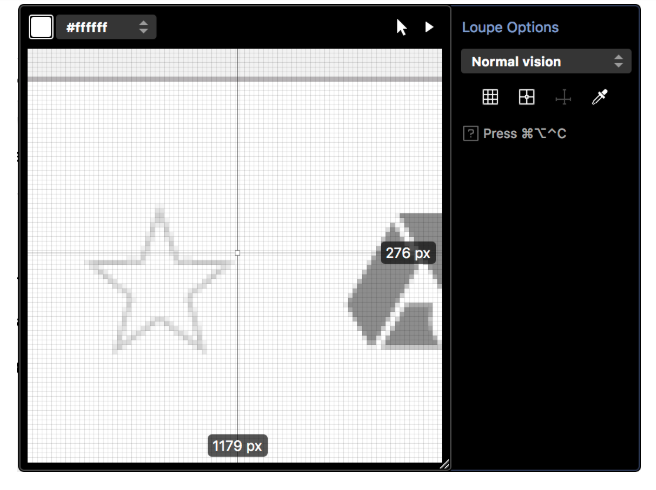
One thing to note: hex color values may not be correct if you plan to change the alpha level of the component. A color with an alpha less than 1 will give a different hex value on the Loupe, so you may have to ask your designer for the intended opacity value.
When you have simple-looking components in a mock, try to implement them in code before asking for assets. Sometimes there’s a big button with rounded corners, and you probably don’t need a designer to make a button that you can easily draw in code. Ask for the corner radius (or figure it out) and do it yourself. It saves your designer time, it saves space on your app, and it’s much easier to change the color of a button when it’s a one-line change in code than an entire asset.
Bonus points if you know how to use a program like Sketch or Photoshop to slice your own assets from the mock once you’ve done everything you can in code. For assets you do need, make sure to be specific when you request them from the designer. For example, if you no longer support iOS devices with low screen resolutions, you may only need to request @2x and @3x assets. As the engineer, only you know the true requirements.
Much of these things may seem like the designer’s job, but they can be relatively simple tasks that are easier done than asked for.
About the author
Dylan Harris is a software engineer at Airbnb, where he focuses on mobile iOS app development. He has also worked as an engineer at Luxe and Sidecar Technologies. He is an avid bike commuter, and in his free time he writes and maintains Bike to Everything.